Christmas Eve is already here! Can you believe it?
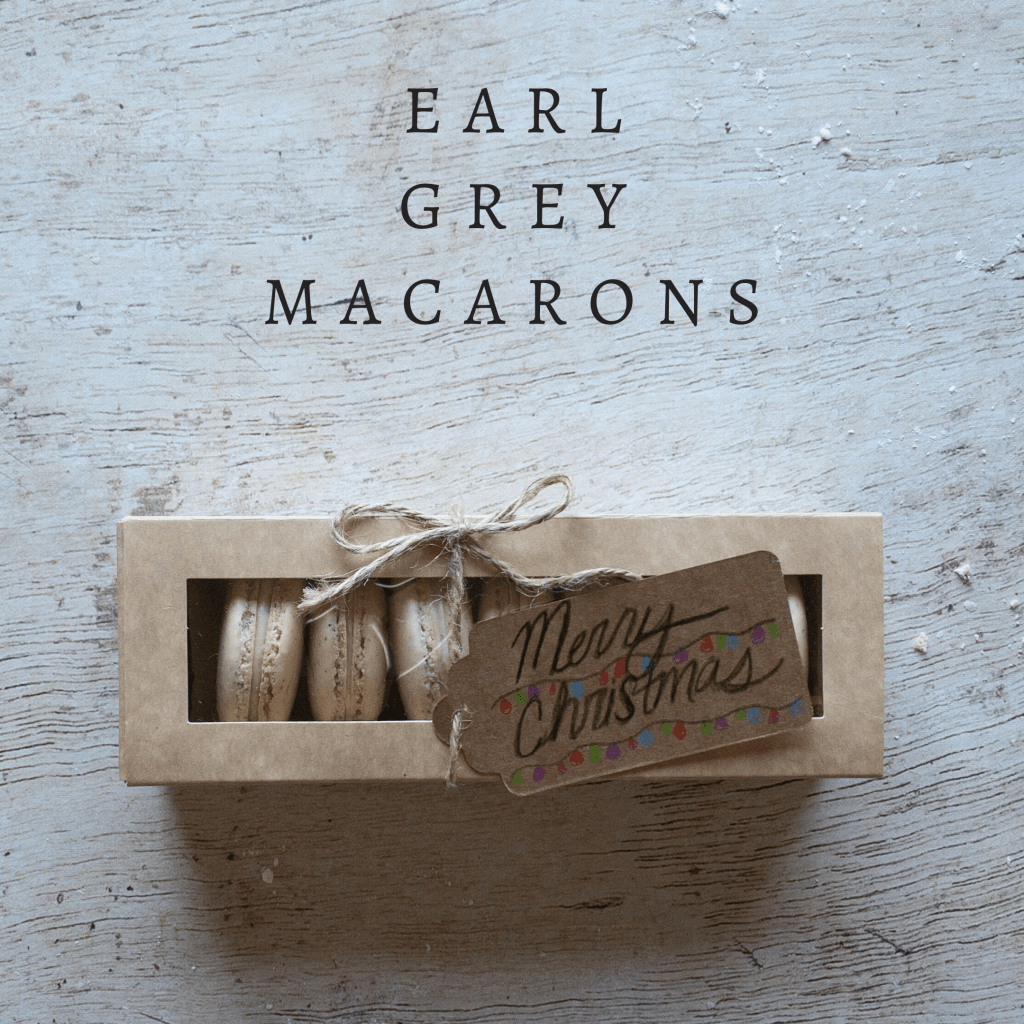
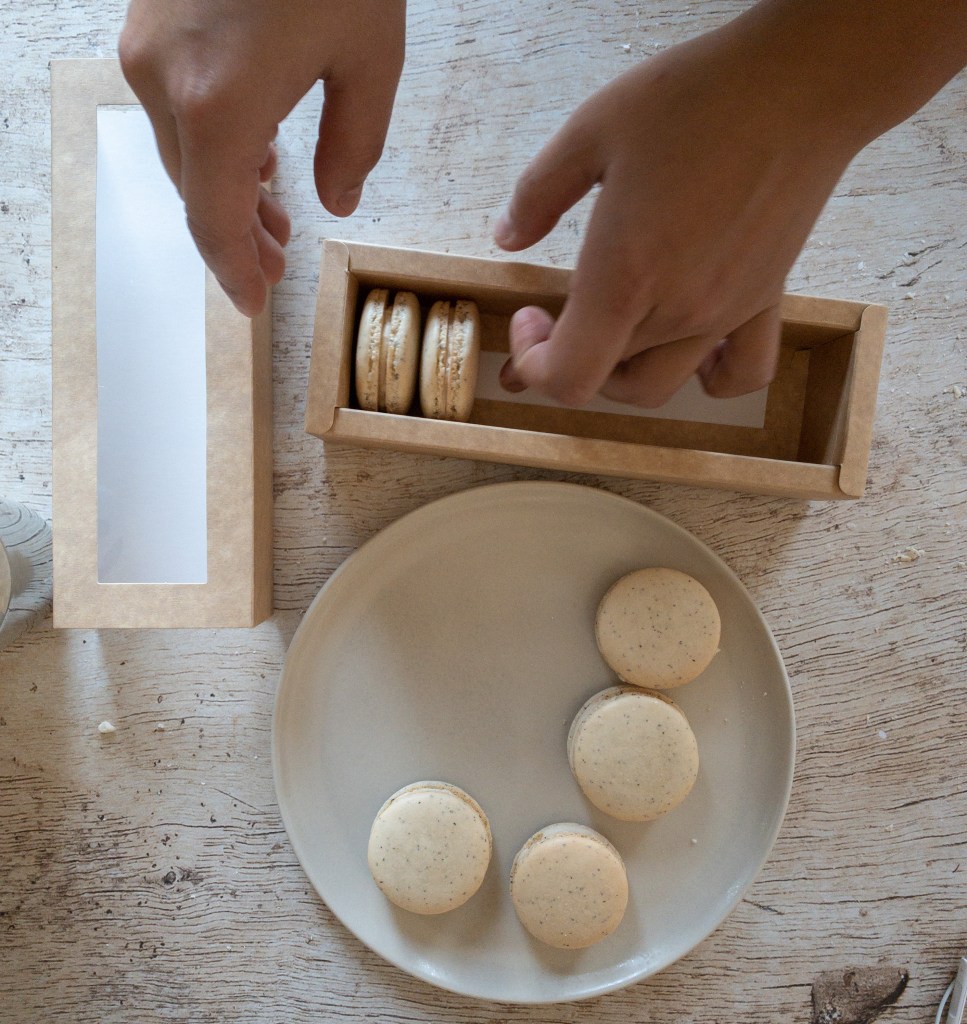
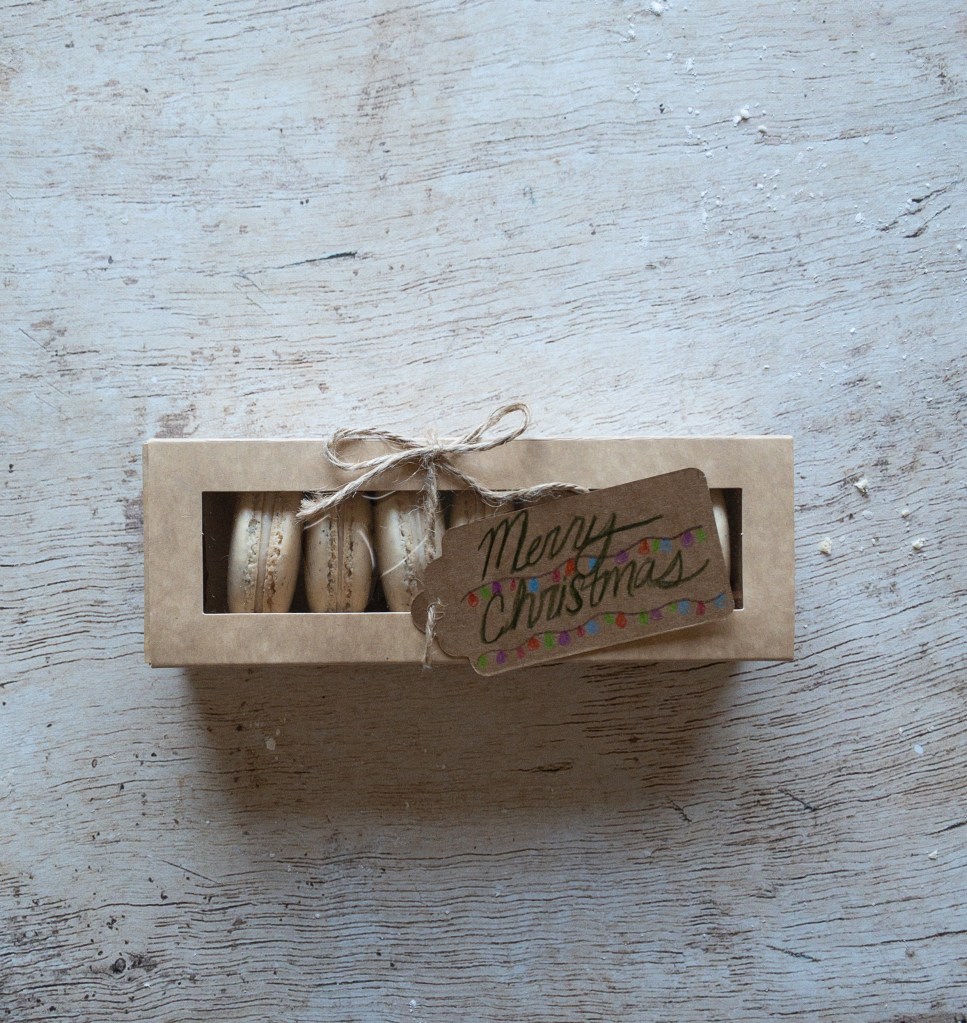
This year, I was on a pretty tight budget. I still wanted to give a meaningful gift to my friends and neighbors, though, so I decided to make some macarons and gift them in lil’ boxes with hand-decorated gift tags.
I initially was going to make a bunch of different flavors, but I eventually settled on just making one flavor. That way I cut down on the stress and have more tricks up my sleeve for the coming years 🙂
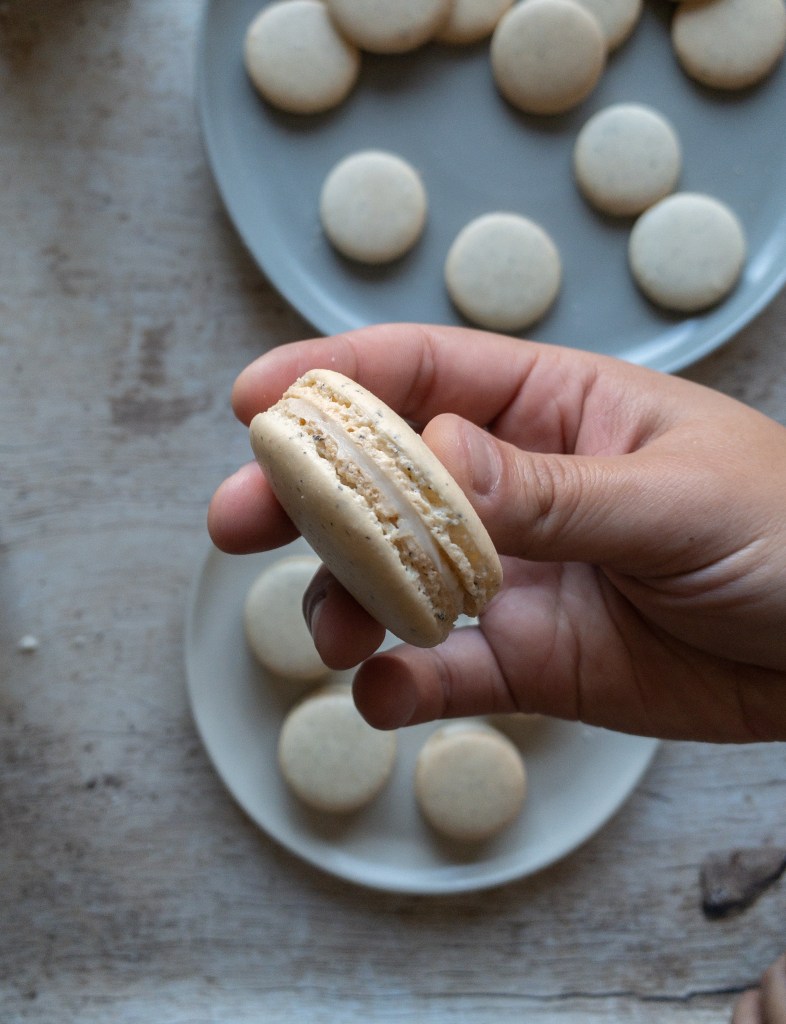
This Christmas, I made earl grey macarons with a honey vanilla buttercream.
The base recipe I’ve been using for macarons is Shinee’s, which I’ve linked to before. I just added some dried earl grey tea to the batter. For the buttercream, I used this recipe but also added vanilla.
If you’ve tried baking these before, you know that macarons are really tricky. I think I’ve made them close to 30 times now, more than half of which were failures.
So if you’ve given up or you’re close to it, I encourage you to keep going and practicing! It’s so rewarding when you make a successful batch!
Directions and Ingredients
Ingredients for the cookie:
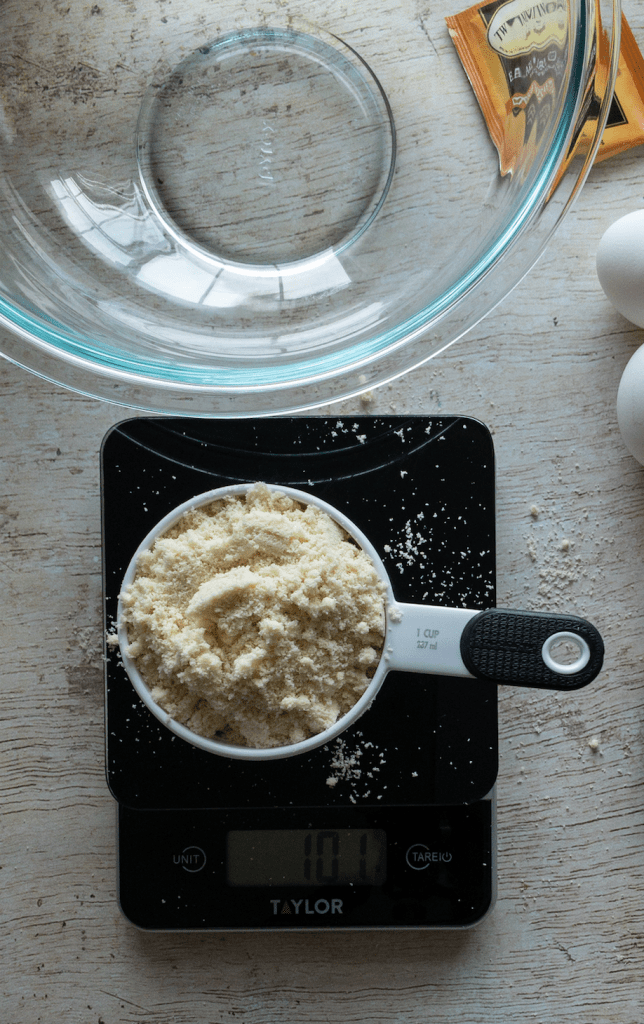
- 100 g of fine almond flour
- 100 g of powdered sugar
- 70 g of egg whites
- 1/4 cup of granulated sugar
- 1 earl grey tea bag
Directions for the cookie:
- Take out 3 eggs from the fridge and let them come to room temperature
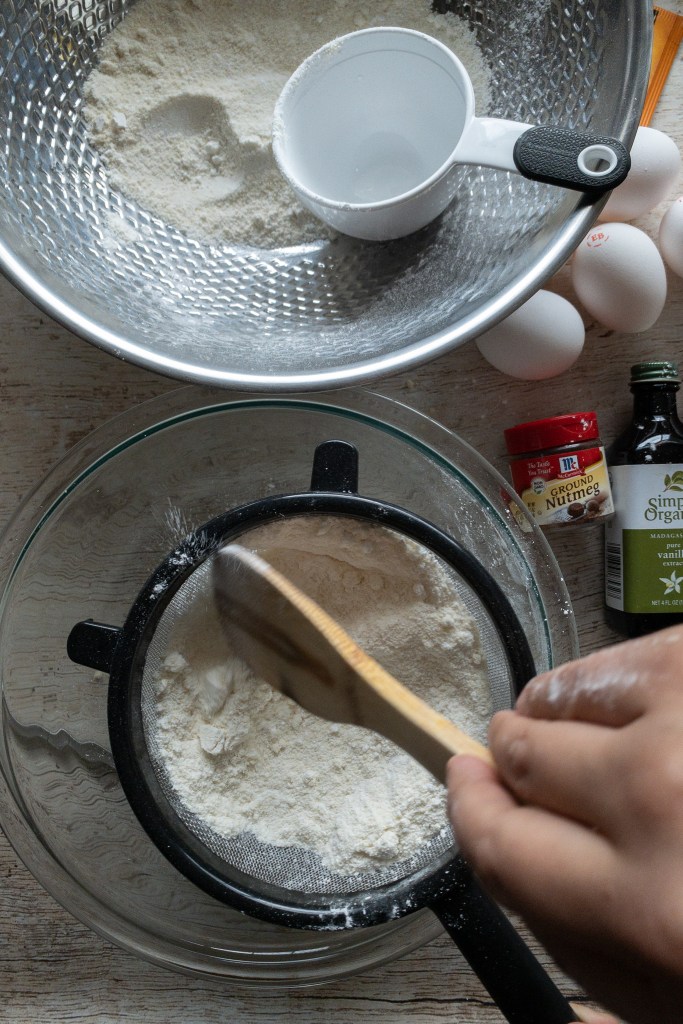
- Measure out then sift flour and powdered sugar
- I sift the flour and powdered sugar twice
- Set sifted flour and powdered sugar aside in a bowl
- Measure 70g of egg whites
- To prevent wasting more than one egg, I make sure to separate each egg one by one.
- So, I’ll crack the egg on a bowl that’s on top of the scale.
- Then, keeping an empty grocery bag on the counter, I scoop out the yolk and throw it away. I then pour the egg white into a separate bowl.
- I repeat this process for each egg so that if yolk for the second egg starts to run, I don’t have to throw out the first egg white too.
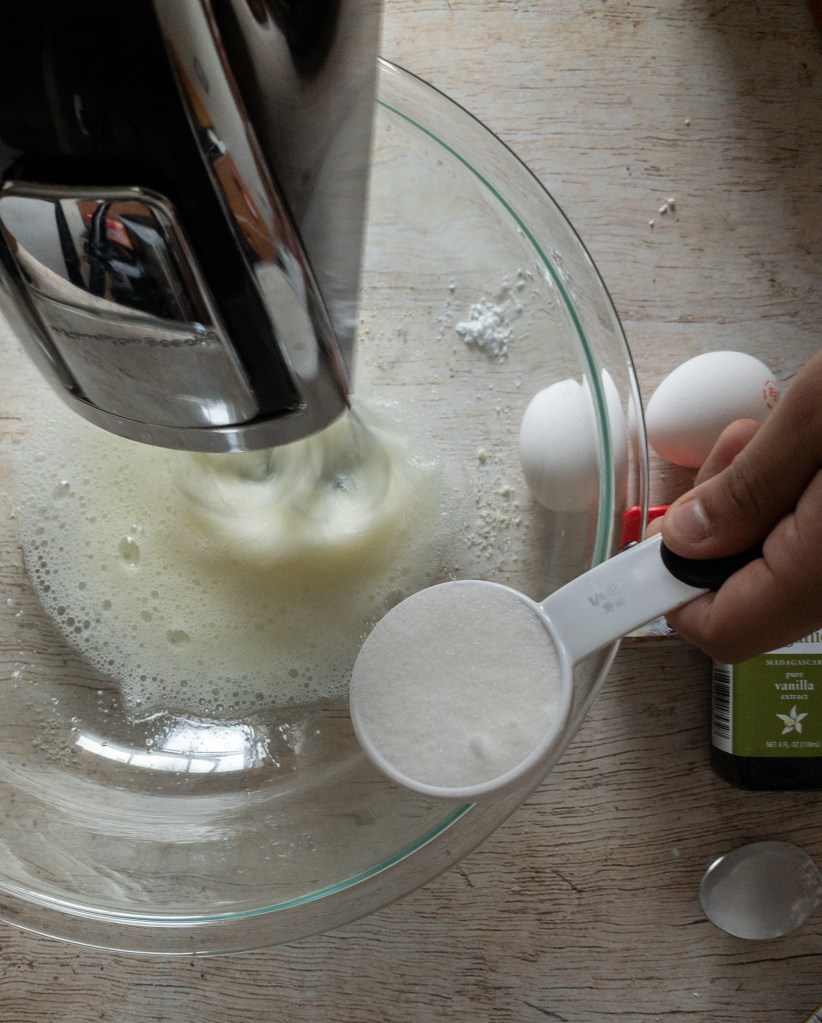
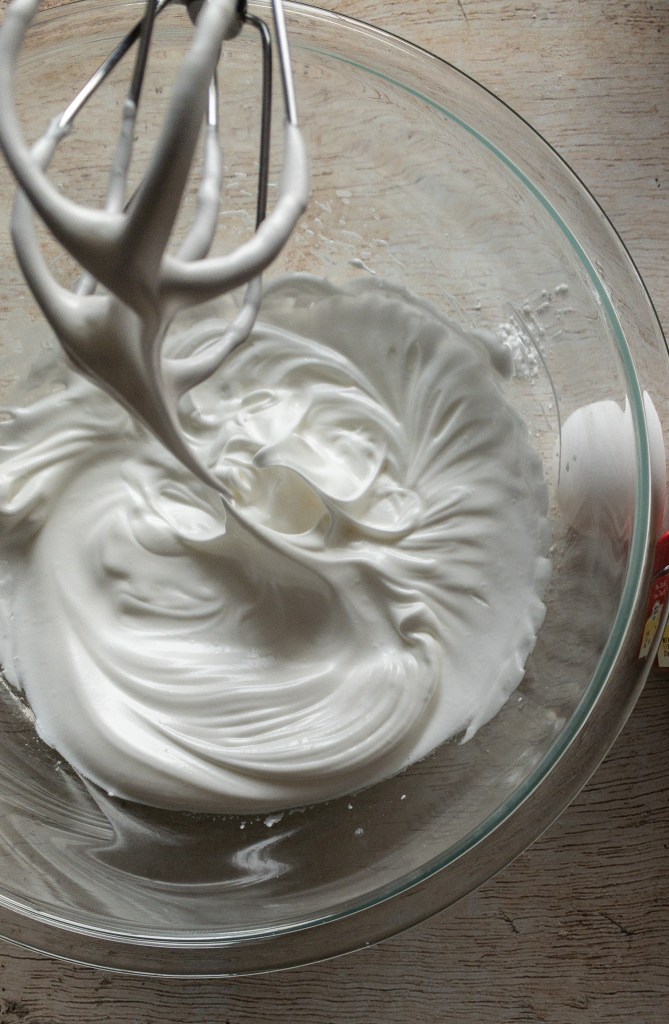
- Beat the eggs, and when they start to froth, add a little bit of the granulated sugar.
- Continue to add the sugar in increments as you beat the eggs. I tend to wait about 1 minute before adding the next batch of sugar.
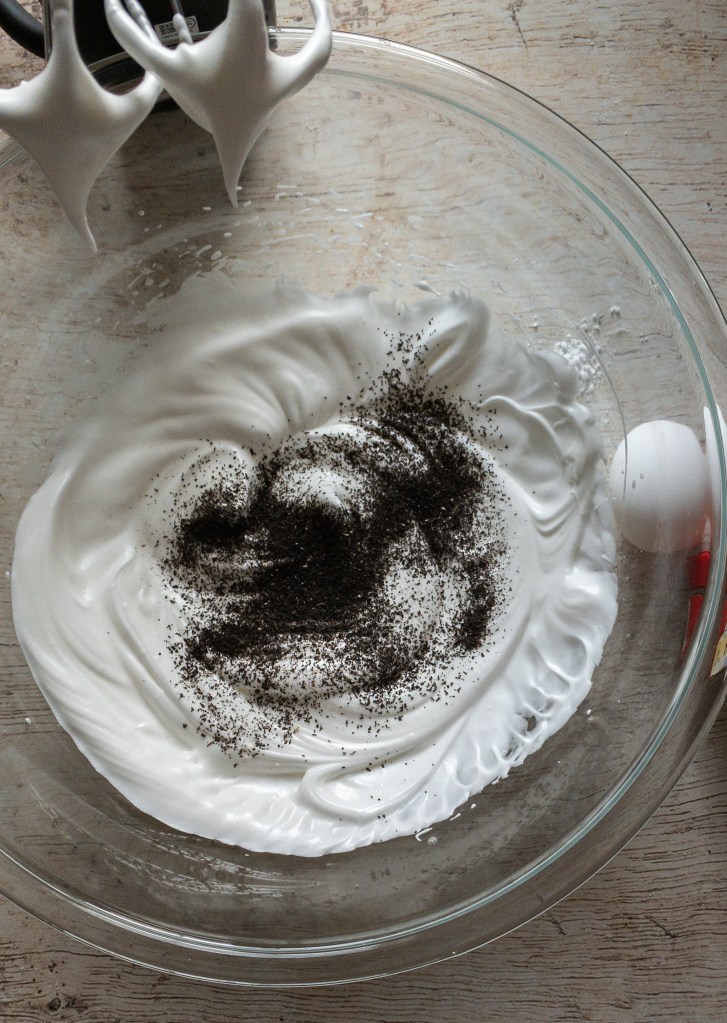
- Once the mixture reaches soft peaks, cut open the earl grey tea bag and pour its contents into the mixture.
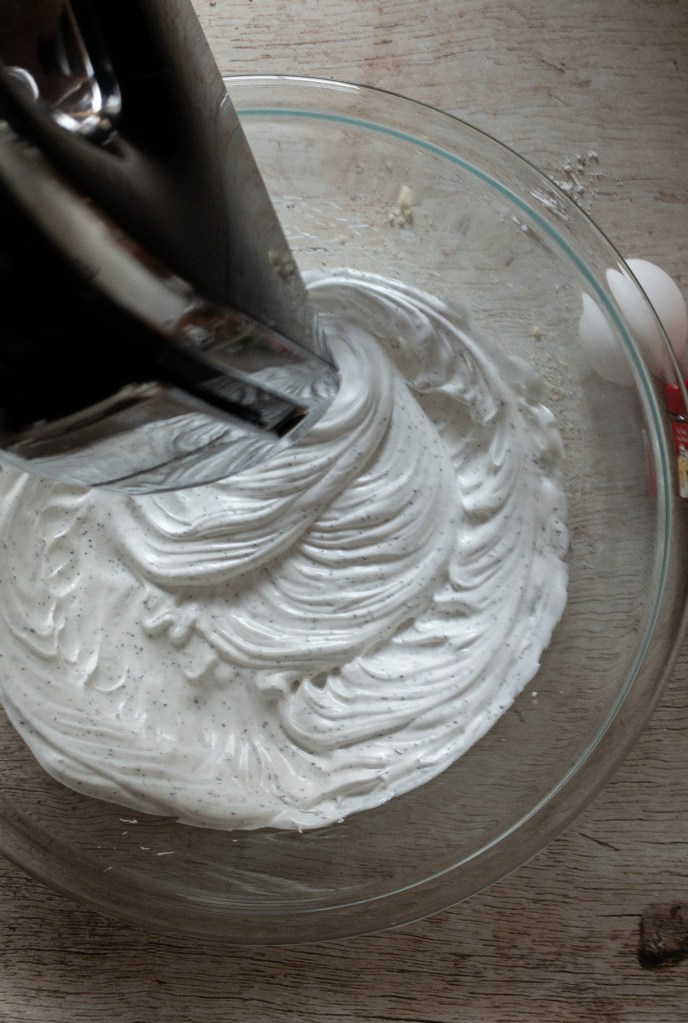
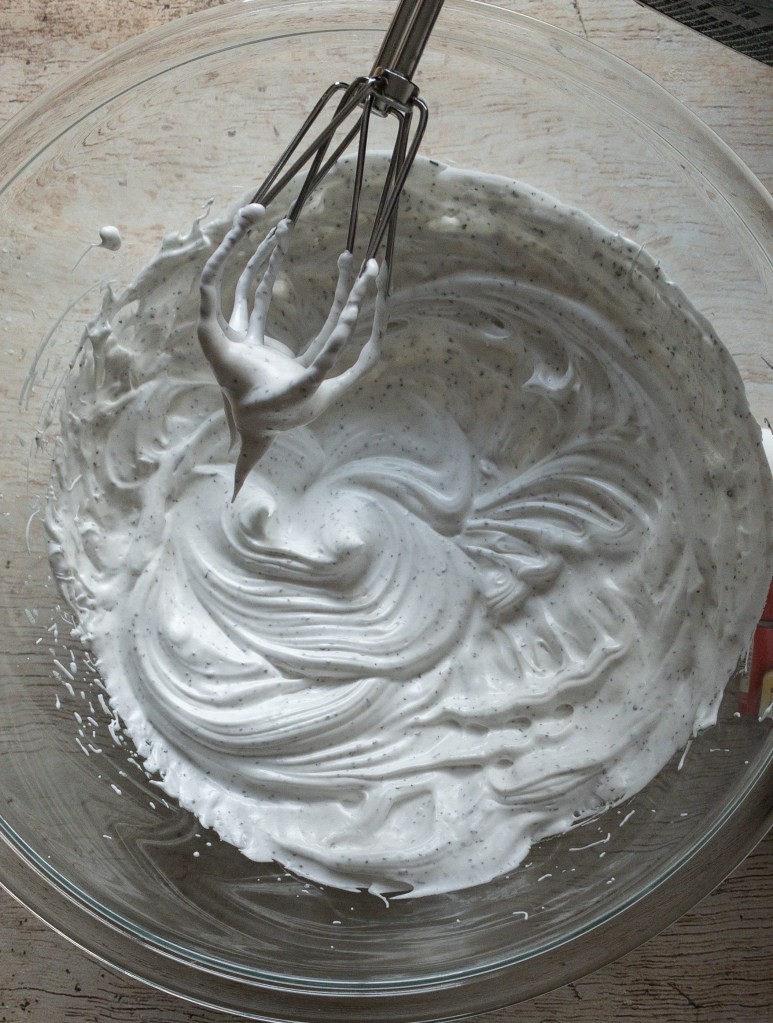
- Continue beating until the mixture has reached the stiff peaks stage.


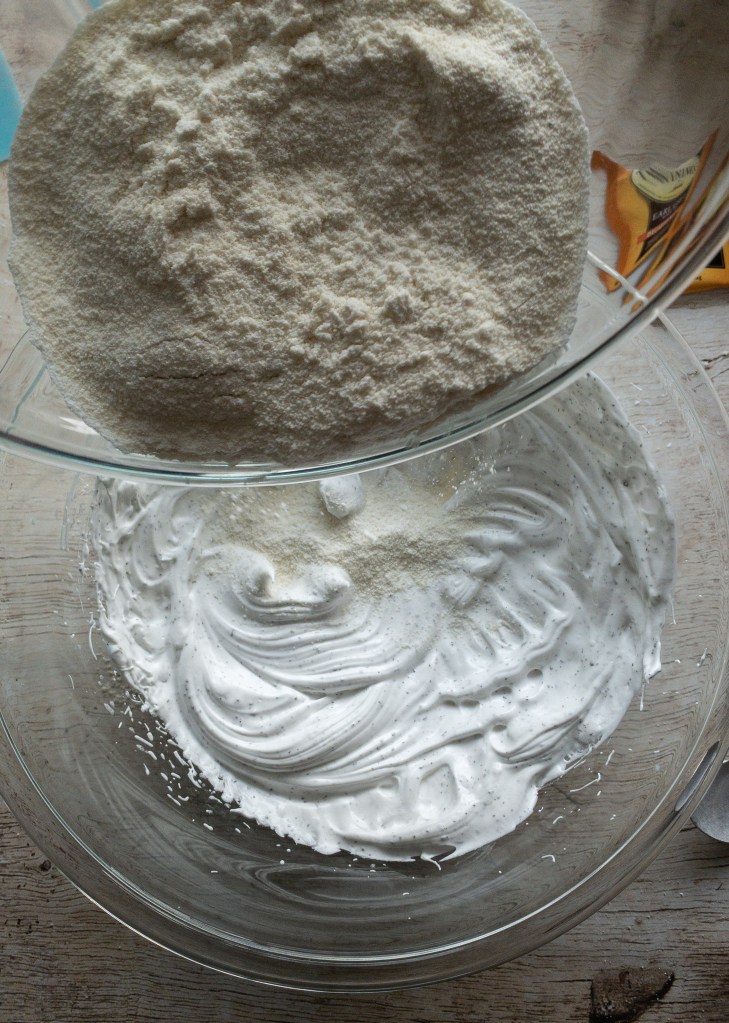
- Once the mixture has reached the stiff peaks stage, add the sifted flour and powdered sugar. I sometimes add the dry mixture all at once, and sometimes I add it in patches. I haven’t seen a difference in the end result.
- To mix everything together gently yet thoroughly, cut through the batter and spread it across the side of the bowl.
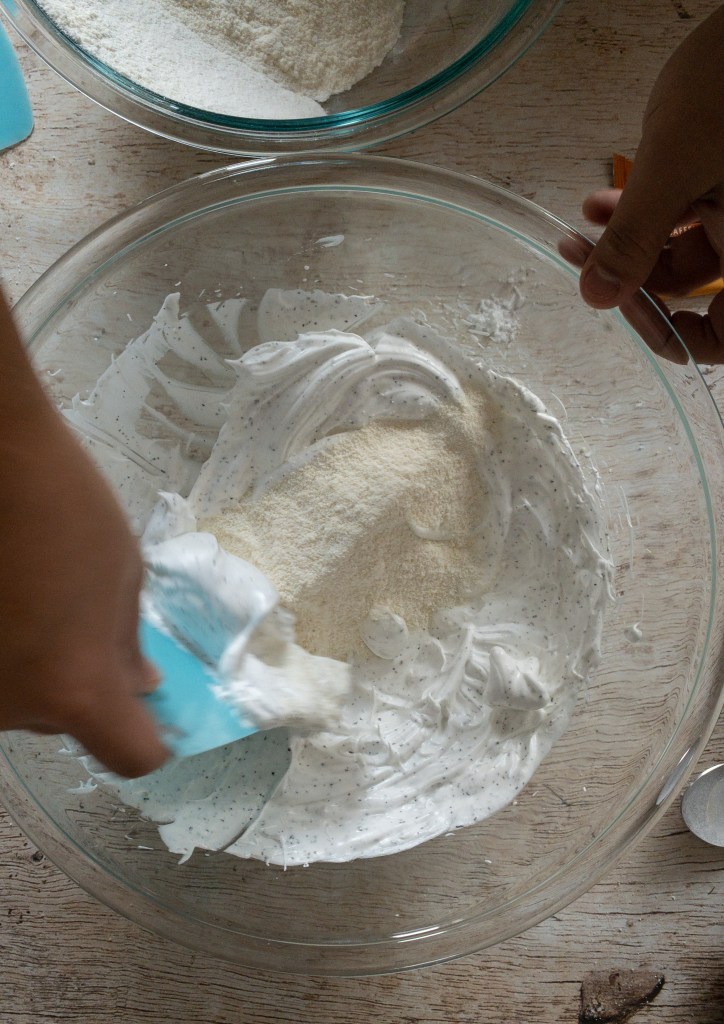

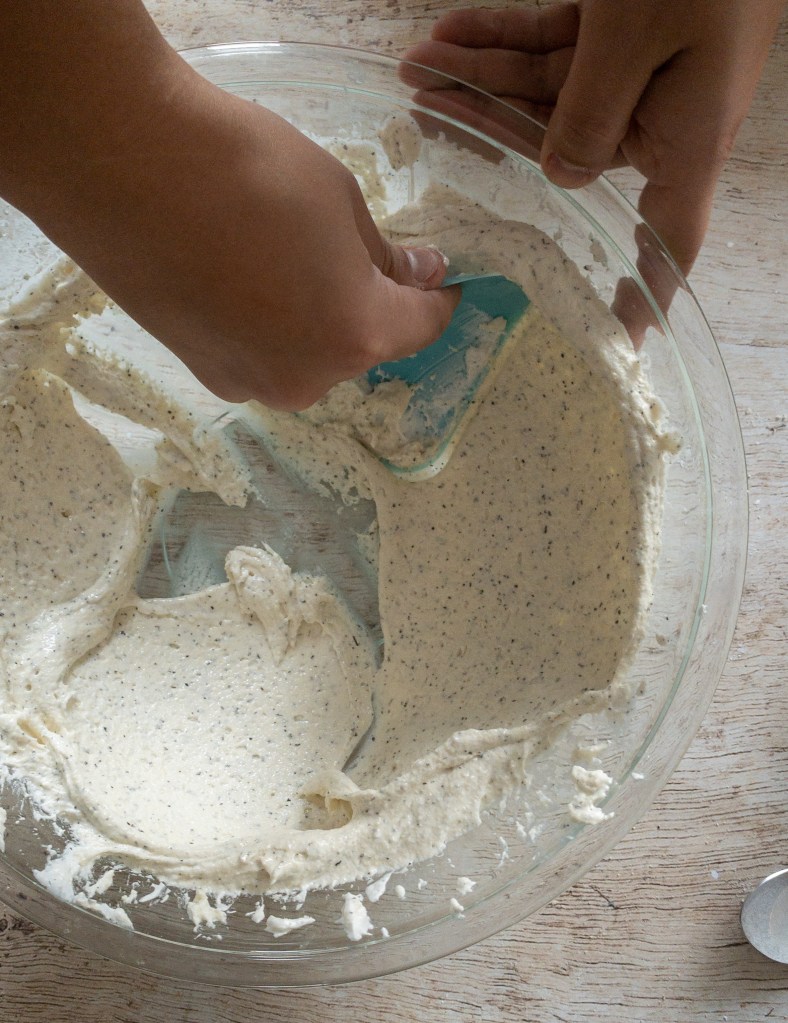

- This mixing process is called macronage and it’s the stage where I can tell if my batter will be successful or not.
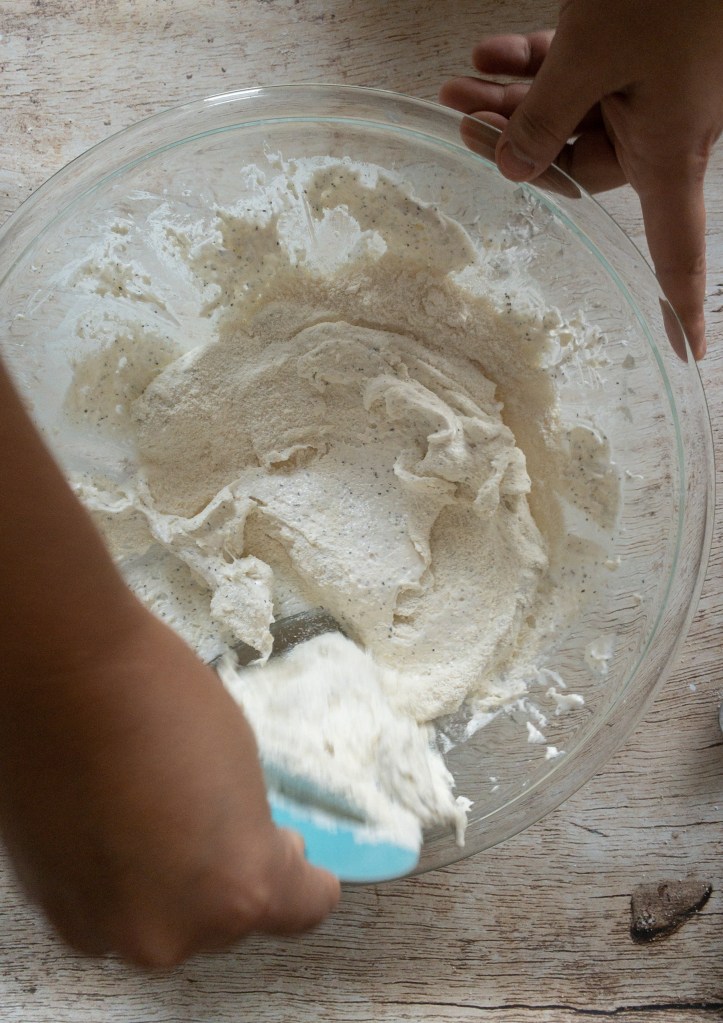
- Looking at texture:
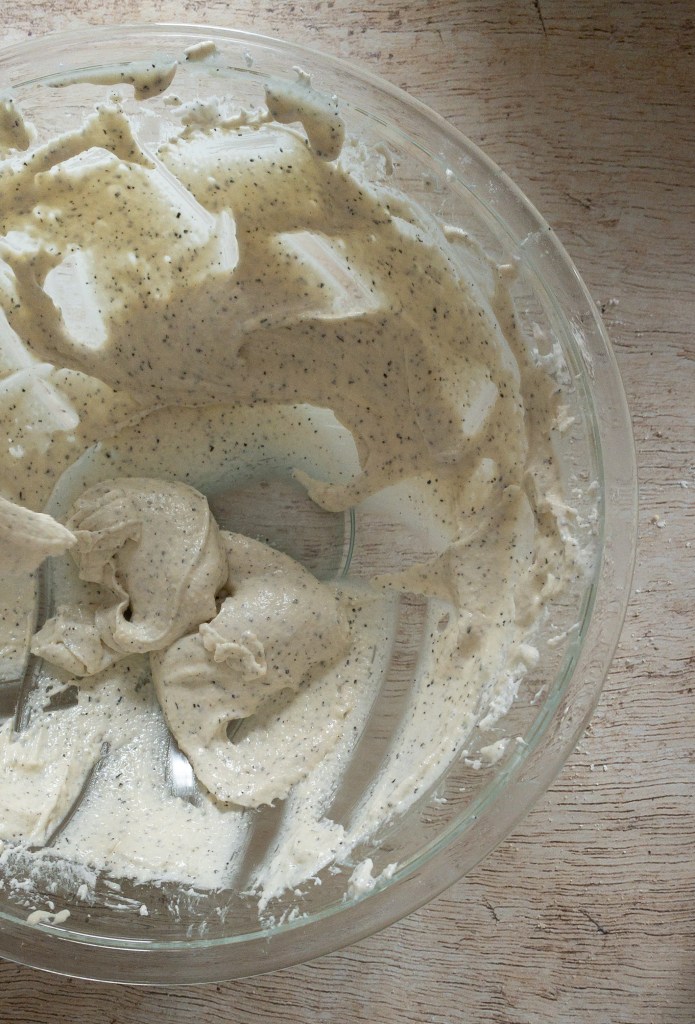
- Once things start mixing together, you can see if you have a really grainy, thick batter. This usually means the flour was too coarse and should’ve been sifted more or the flour wasn’t fine enough. This will result in lumpy, coarse cookies. When the batter is like this, it also has a hard time dripping down the spatula and will be even more difficult to squeeze through a pastry bag.
- If the batter is fluffy and not dense, it could mean there are too many egg whites. As a result, your cookies will end up “popping” in the oven, as the the tops will be cracked and hollow. This batter will be a little too easy to squeeze out the pastry bag.
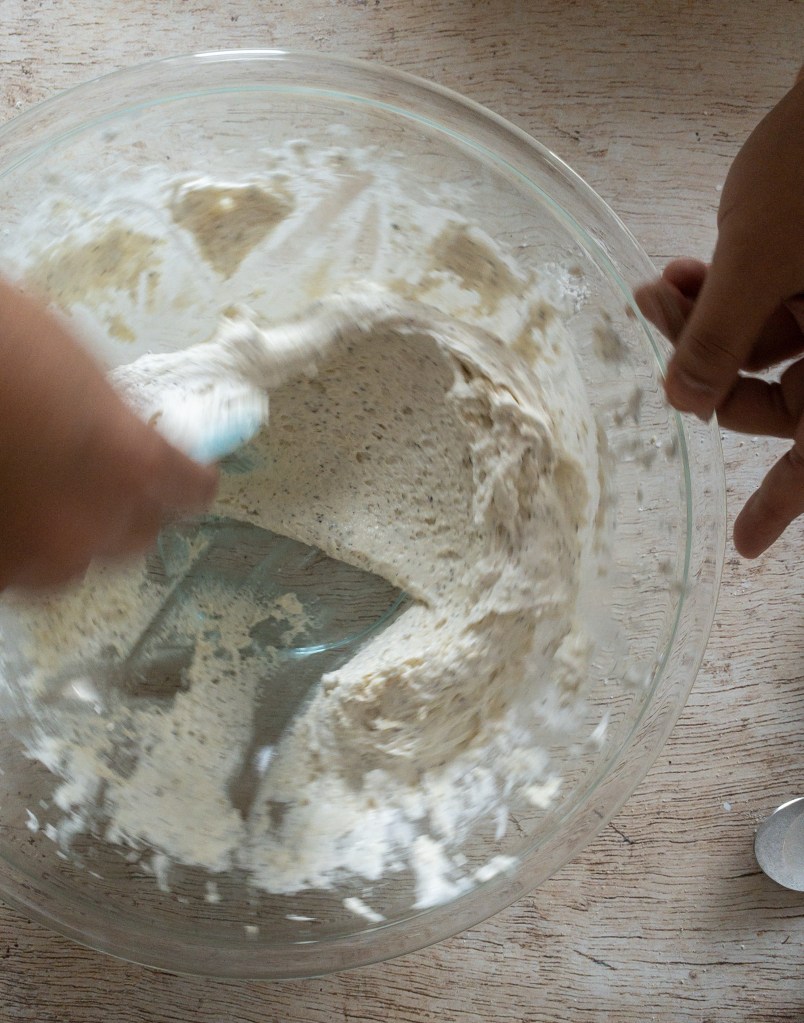
- If the batter is dense and just slightly grainy, things are looking good! The batter will come out of the pastry bag with just a little effort and will be thick enough to come out in folds and stay in folds until you bang the tray on the counter.
- Looking at texture:

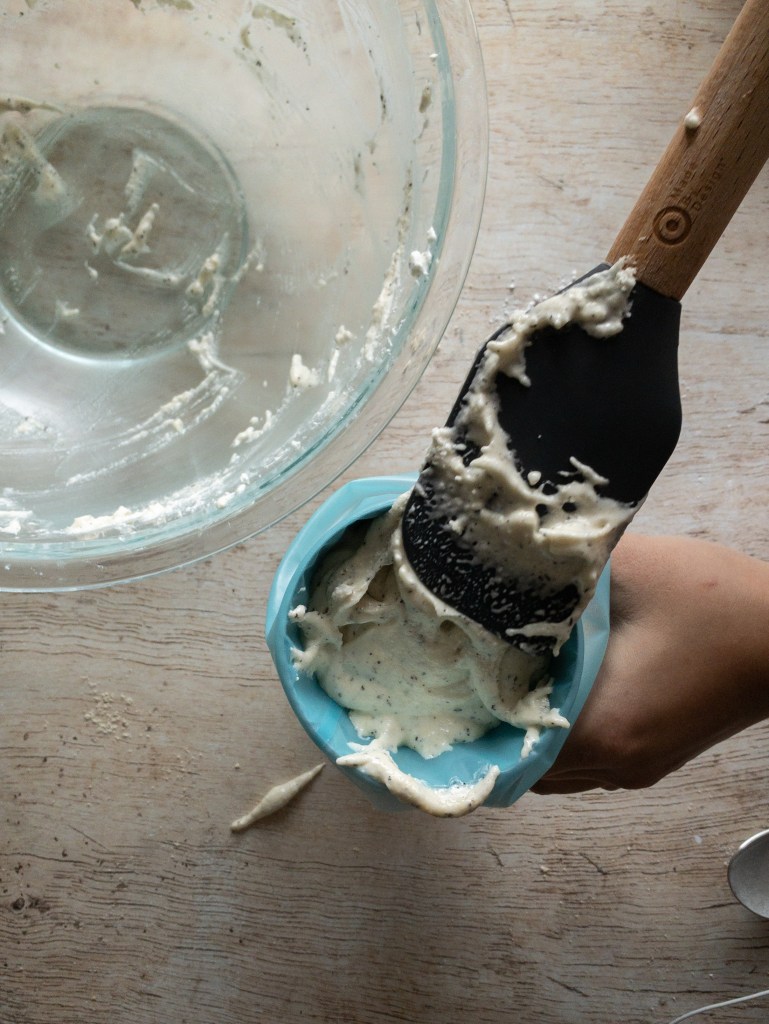
- Prepare your pastry bag.
- Carefully pour the batter into the pastry bag.
- Place a piece of parchment paper on the baking sheet. I place a silicone mat underneath so I can make the right-sized circles, but I remove the mat before placing the cookies in the oven.
- Start piping! Squeeze staring at the center of the circle.


- Bang the tray on the counter several times to get all air bubbles out. I literally lift the tray up about 12-15 inches off the counter and throw it down. Just make sure you have enough counter or table space to do this so the tray doesn’t end up on the floor!

- Let the batter sit out for about 40 minutes. There should be a skin that forms on the top that allows you to graze your finger over the cookies without getting any of the batter on yourself.
- I actually found out that the humidity in my apartment was part of the reason my cookies didn’t have any “feet” at the bottom. The humidity was preventing them from drying out a bit before going into the oven. So I now reserve fall and winter time for baking macarons!
- Preheat the oven to 300 degrees Fahrenheit and move a rack to the highest point it can go in the oven.
- I like to cook my macarons in batches so that each cookie gets to cook at the top.
- Cook for 14 minutes.
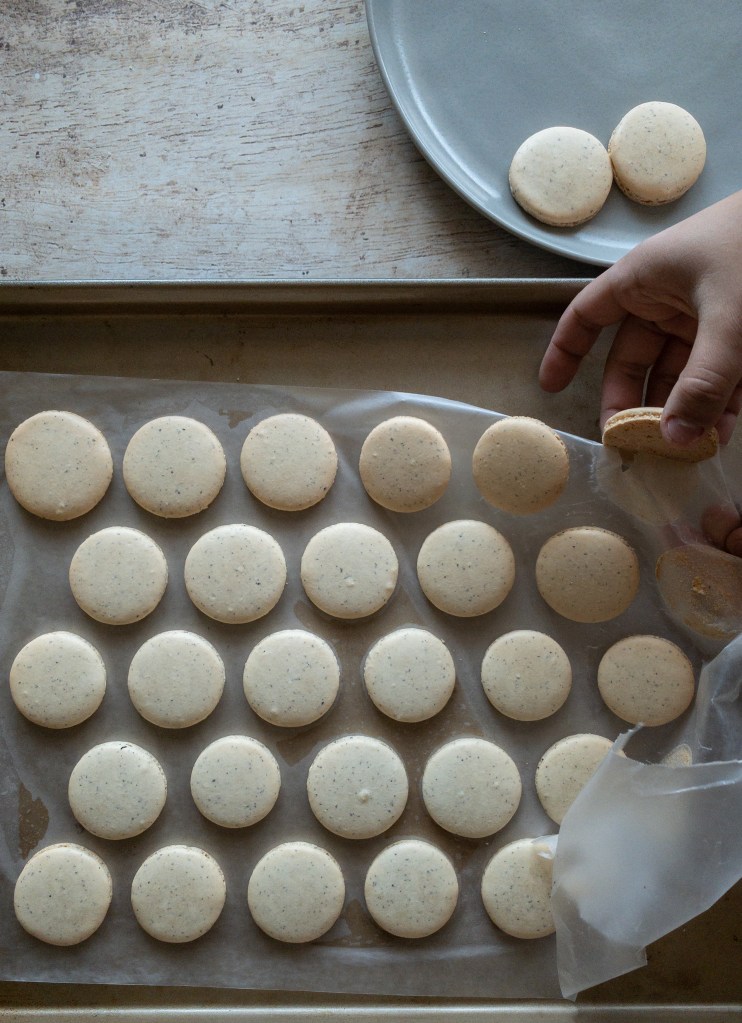
- Once they come out of the oven, let them cool completely before peeling them off the parchment paper.

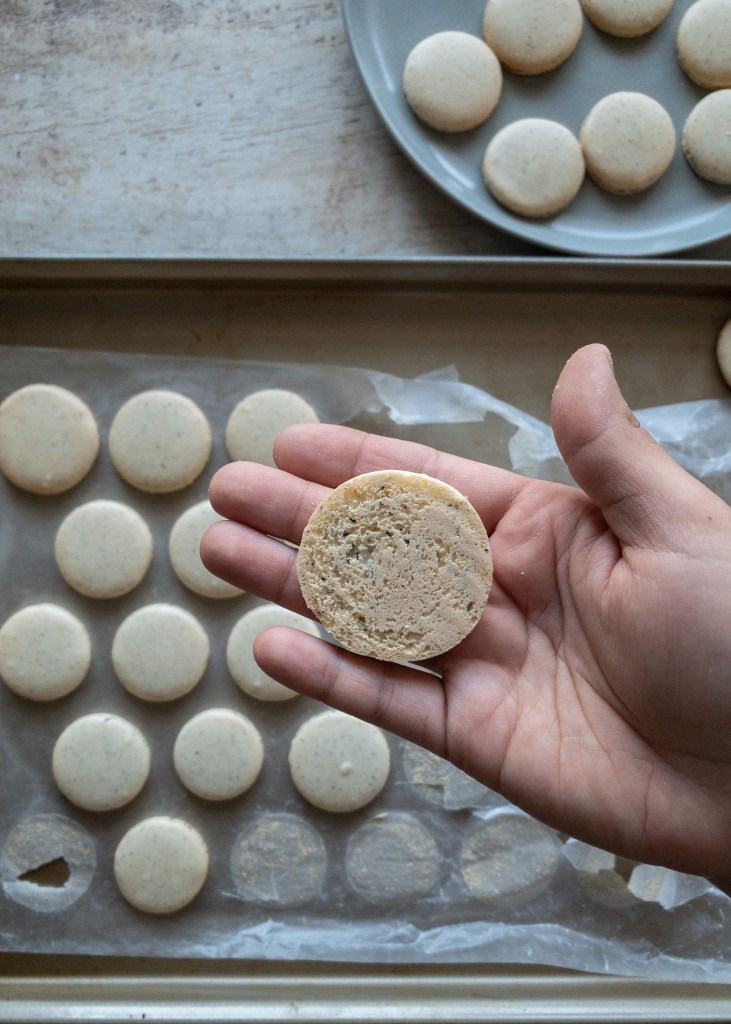

Directions and Ingredients for the vanilla honey buttercream
Ingredients:
- 8 tbsp or 1 stick of butter
- 1 cup of powdered sugar
- 1/3 cup of honey
- 2 tablespoons of vanilla extract
Directions:
- Let the butter come to room temperature
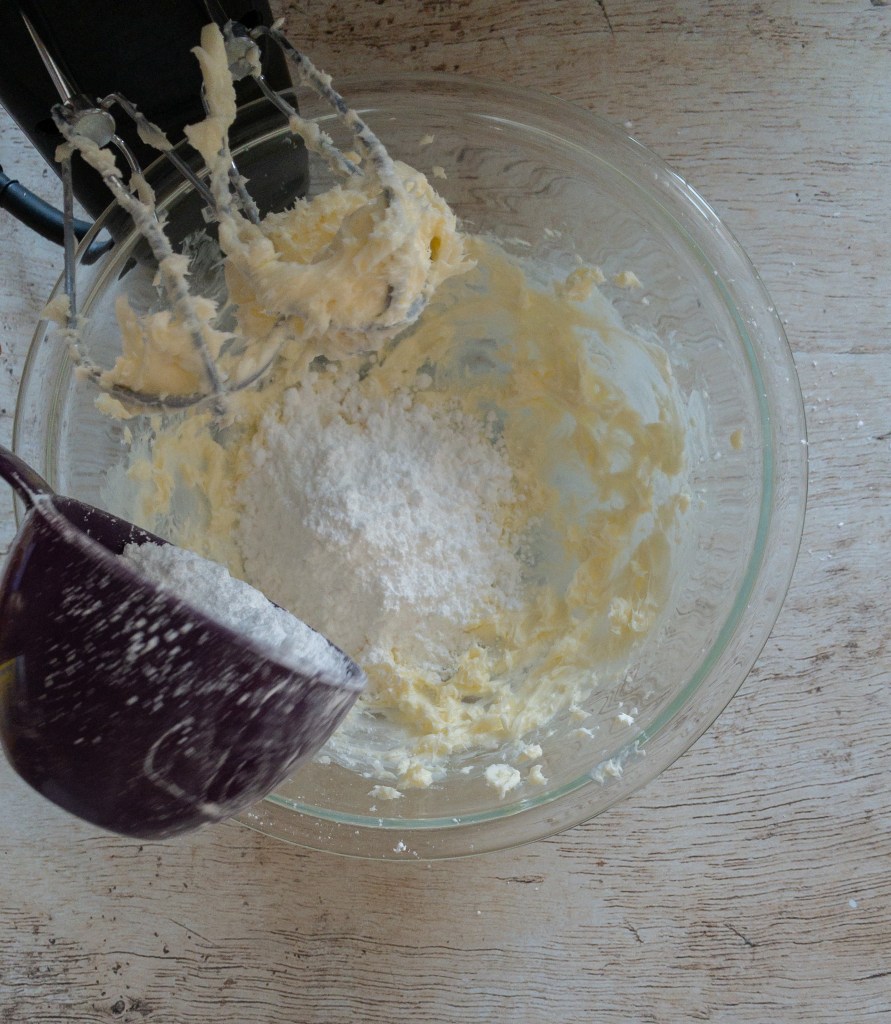
- Beat the butter and add the powdered sugar
- Once the powdered sugar starts mixing with the butter, it’ll become really thick. This is supposed to happen!
- Add the honey and continue to beat the mixture.
- Then, add the vanilla extract.
- Everything should be fully incorporated and the texture should be thick and really smooth.


- Put the filling in a piping bag.
- Gently assemble your macarons.
- Find two cookies that fit in size.
- Flip both of them over so you know which ones should be paired together.
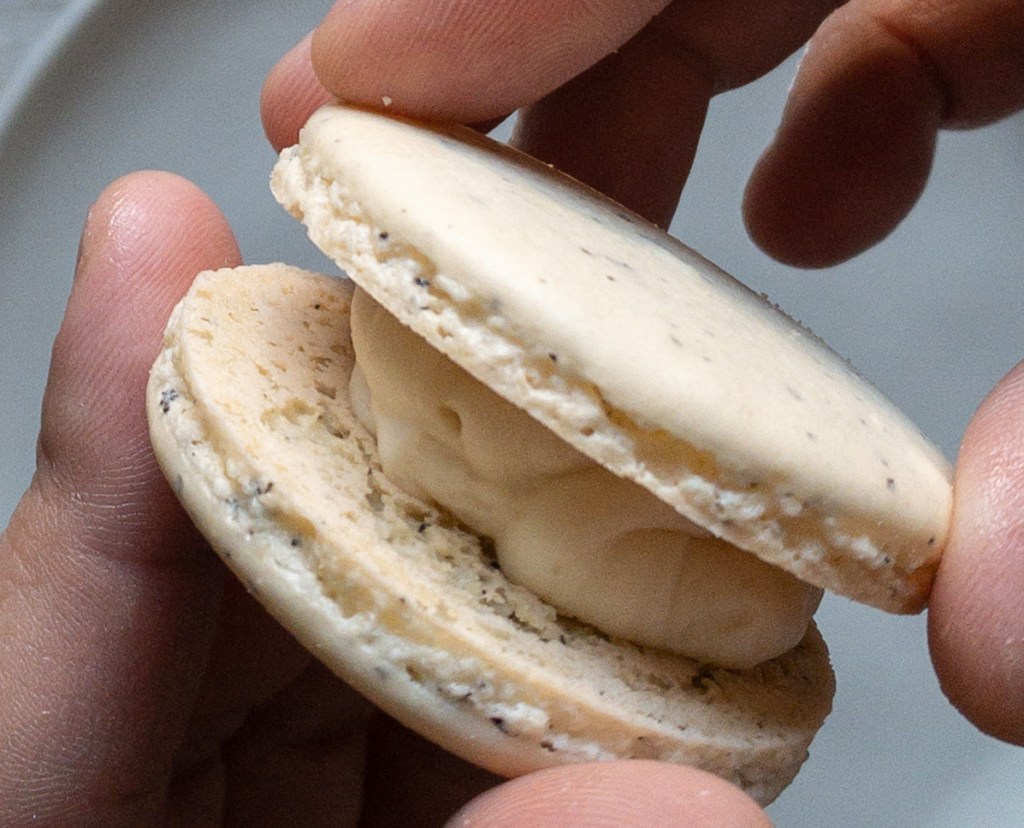
- Put some of the buttercream at the center of one cookie.
- Place the other cookie on top, gently pressing down and turning the cookie so the filling is evenly distributed.


- Once I’m done assembling, I let the macarons sit in the fridge so the flavors can mesh together.
- This time around, I put together the gift box that this batch of macarons would be delivered in.


And there you go! Macarons are so difficult but extremely rewarding to make. They also give you a lot of room for creativity as you can experiment with so many different cookie and filling flavors!
I’ll be posting more macarons recipes in the coming year, so keep an eye out!
As always, thank you for reading! And Merry Christmas!

Leave a comment